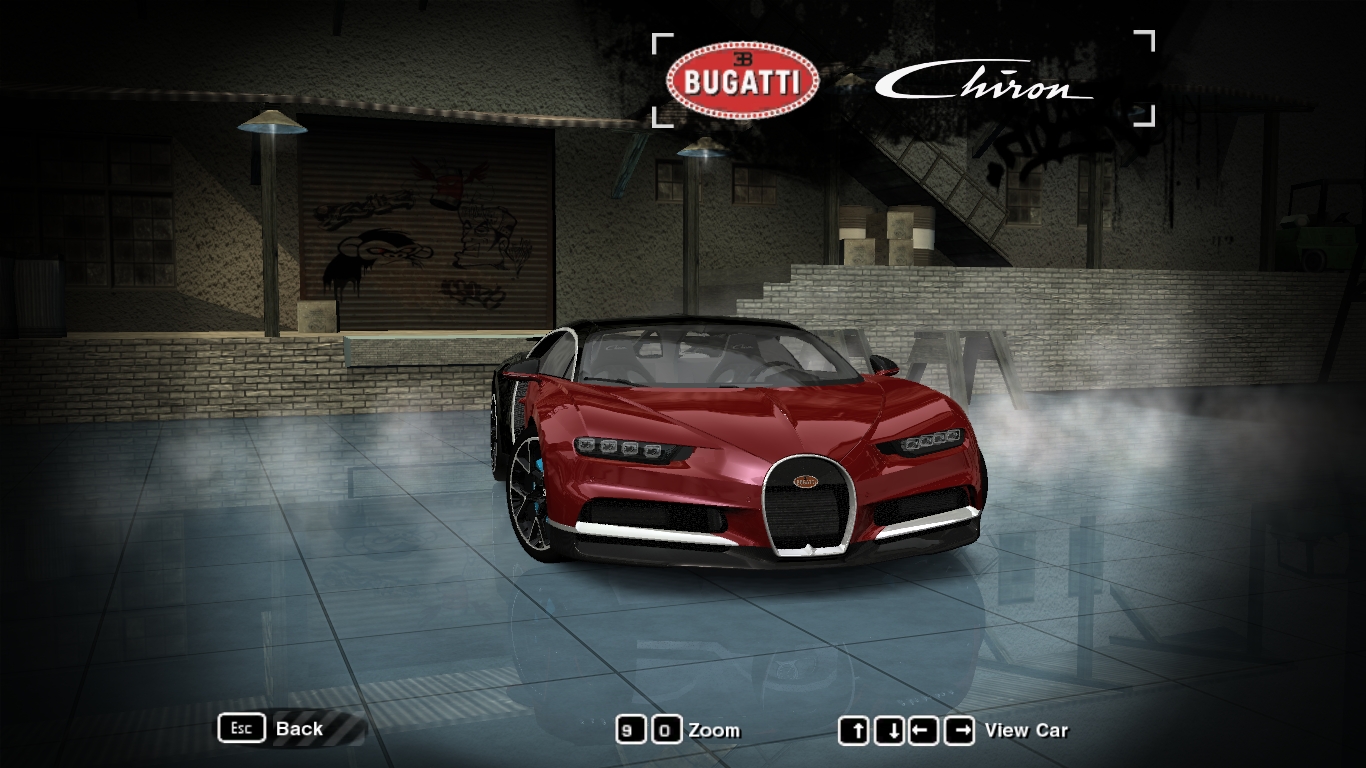
Bugatti Chiron (Add-On)
This car is converted from Forza Motorsport 7.
Can be customized with:
- Performance
- Bodykits(5, spoiler up/down + paintable chrome and carbon fiber parts)
- Hood(Chiron licenseplate)
- Visuals
- Rims
Features:
- NFS UC Driver model
- Working brakelight texture
- LOD parts
- New performance data
- Scratches
- 5 dual colored vinyls in Contest*
- Use Flame 1 vinyl for make your own paint job*
*I highly recommend install 1024x vinyls to makes Chiron vinyls working.(https://nfsmods.xyz/mod/629)
INSTALLATION
IMPORTANT: If you have NFSMW Mod Loader, remove it. This mod will break Mod Loader compatibility.
1) Create backups of these files:
- Frontend: FrontA.bun
- Global: Attributes.bin, FE_Attrib.bin, Gameplay.bin, Gameplay.lzc, GlobalB.bun, GlobalB.lzc
- Languages: Whole folder
2) Install NFSMW Unlimiter:
https://nfsmods.xyz/mod/688
3) Copy the CARS folder from "Main Files" into your NFSMW Installation directory.
4) You can continue installation with 2 different methods. Choose one:
- Unpack all files from "First Mod" folder to game directory. Use this installation method only if it's first mod in your game.
- Manual installation:
1) Install Chiron.nfsms in "Mod Script" folder using NFS-VltEd:
(Download NFS-VltEd: https://nfs-tools.blogspot.com/p/downloads.html)
2) Open NFS-VltEd. When the main window appears, select File > Open from the menu bar.
3) A new dialog will appear. Choose your game installation directory.
4) Select File > Import > ModScript from menu bar, or press "Ctrl+I".
5) Select the Chiron.nfsms from the dialog and click OK.
6) Mod script installation dialog will appear. Click OK to install the mod.
7) Save the files by selecting File > Save from menu bar, or pressing "Ctrl+S".
8) Quit the tool.
9) Add other required stuff in game files using Texture Compiler by MWInside:
Copy needed files from your game to Texture Compiler by MWInside
- FRONTEND/FrontA.BUN file to Texture Compiler by MWInside/FRONTEND
- GLOBAL/GLOBALB.BUN file to Texture Compiler by MWInside/GLOBAL
- *.bin files from LANGUAGES folder to Texture Compiler by MWInside/LANGUAGE
10) Run the tool.
11) From the menu bar, click these options. (Wait for the notification sound, it indicates that the operation is done.)
- FRONTEND > FRONTEND
- GLOBAL > GLOBALB
- ADD > LANGUAGE
12) The files should get created in the folder you used the tool.
13) Quit the tool.
14) Copy the files into corresponding locations:
- FrontA.BUN: (Your NFSMW Installation Directory)\Frontend
- GLOBALB.BUN & GLOBALB.LZC: (Your NFSMW Installation Directory)\Global
- Other files: (Your NFSMW Installation Directory)\Languages
15) Run your game and create a new save game.
16) Enjoy your new car!
Do not use files from other mods to install addon mods! Otherwise you can see invisible car in the safe house\shop!
How to install addon mod if you have installed other addon mods:
First install nfsms files and copy car folder!
1. Restore backup of GlobalB.bun file! It's important!
2. move all strings located in %carmod%/ MWinside texture compiler/GLOBAL/GLOBALB/Add/Cars/Config.ini into one file and save it as config.ini in folder of mod, that you want to install. (where %carmod% is all downloaded and installed car mod)
here is example:
[CHIRON]
Manufacturer = BUGATTI
Class = Racers
Color = 1489F2C7
[MR2]
Manufacturer = TOYOTA
Class = Racers
Color = 2ABEBCB8
3. Add other required stuff in game files using Texture Compiler by MWInside:
Copy needed files from your game to Texture Compiler by MWInside
- FRONTEND/FrontA.BUN file to Texture Compiler by MWInside/FRONTEND
- GLOBAL/GLOBALB.BUN file to Texture Compiler by MWInside/GLOBAL
- *.bin files from LANGUAGES folder to Texture Compiler by MWInside/LANGUAGE
4. Run the tool.
5. From the menu bar, click these options. (Wait for the notification sound, it indicates that the operation is done.)
- FRONTEND > FRONTEND
- GLOBAL > GLOBALB
- ADD > LANGUAGE
6. The files should get created in the folder you used the tool.
7. Quit the tool.
8. Copy the files into corresponding locations:
- FrontA.BUN: (Your NFSMW Installation Directory)\Frontend
- GLOBALB.BUN & GLOBALB.LZC: (Your NFSMW Installation Directory)\Global
- Other files: (Your NFSMW Installation Directory)\Languages
9. Run your game and create a new save game.
10. Enjoy your new car!
CREDITS
Playground Games - mesh & textures
nlgzrgn, MWInside, ASC, nfsu360 - for awesome stuff
arushan - NFSMW ModTools
Oleg Melashenko - ZModeler 1.0.7.& 2.2.5
Eclipse 72rus aka CorvetteZ06 - converting to NFS MW
Comments
Milan (December 20, 2025 @ 08:02)
idk why but for me it only shows the car logo (example BMW) and temp350 and all is careera gt (every careera can be upgradable n customizable)KolleyCo (March 18, 2025 @ 22:13)
all those steps for one car...
ChristianNFSBrazilModder (June 28, 2024 @ 17:34)
@MiguelAmancio350zNFSFan So i can do i. UwUAntonApanasov (June 27, 2024 @ 19:29)
Who would want to drive a so called supercar that weighs well over 4000 pounds?
MiguelAmancio350zNFSFan (April 18, 2024 @ 23:42)
i can make this on binary myselfYouTube Video
Youtube videos are disabled.